
22 DIY Recipe Binder Ideas for Effortless Meal Planning
Are your favorite recipes scattered across notebooks, loose papers, screenshots, and saved links? Finding the right meal shouldn’t feel like another kitchen chore!
These DIY Recipe Binder Ideas will help you turn recipe clutter into a beautiful, organized collection that makes everyday meal planning easier. Whether you love handwritten family recipes, printable meal planners, colorful dividers, or creative kitchen organization, there’s an idea here to suit your style.
A well-organized recipe binder can keep your favorite breakfasts, quick dinners, desserts, grocery lists, and weekly meal plans together in one convenient place. I’ve noticed that having recipes organized by category makes choosing meals much quicker, especially during busy weekdays. From budget-friendly supplies to personalized keepsake designs, these inspiring ideas will help you create a practical collection you’ll enjoy using. Get your favorite supplies ready and find a design worth saving!
Family Favorite Recipe Binder

Keeping family favorites in one place makes weekly meal planning much more personal and practical. Dedicate a binder to the dishes everyone regularly requests, from homemade pasta and comforting soups to weekend breakfasts. Add small notes about who loves each dish and any ingredient changes that make it special.
I’ve noticed that family recipes are easier to preserve when they include little details beyond the cooking instructions. Write down the preferred serving size, favorite side dishes, and useful substitutions. These personal touches turn an ordinary collection into a helpful kitchen resource that your family can enjoy for years.
Ingredients:
- 1-inch or 2-inch ring binder
- Cream-colored recipe paper
- Kraft paper divider sheets
- Family recipe printouts
- Small printed food photographs
- Adhesive photo corners
- Black pens and label stickers
- Clear sheet protectors
How to Make It:
- Choose a binder with enough room for your current recipes and future additions.
- Create categories such as Family Dinners, Breakfast Favorites, Soups, Desserts, and Holiday Meals.
- Print or handwrite your favorite family recipes on matching sheets.
- Add a small photograph beside selected recipes using adhesive photo corners.
- Write personal notes about ingredient substitutions, serving sizes, and family preferences.
- Arrange the pages behind their matching dividers and place frequently cooked meals near the front.
ALSO READ : High Protein Recipes With 40g Protein
Weekly Meal Planning Binder
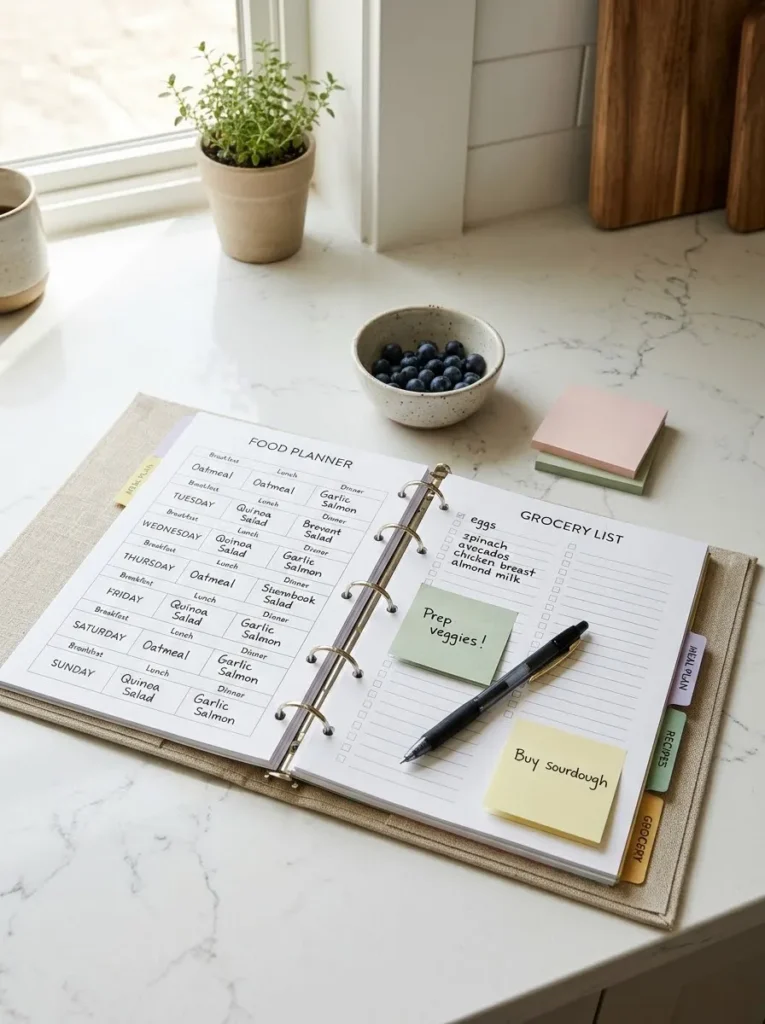
A weekly planning system helps turn scattered meal ideas into an organized cooking routine.
- Weekly Menu Pages: Create seven columns for breakfast, lunch, and dinner.
- Grocery Lists: Include separate spaces for produce, dairy, pantry items, and proteins.
- Recipe Reference Sheets: Keep frequently used recipes close to the weekly planner.
- Meal Prep Checklist: Add reminders for chopping vegetables, cooking grains, and preparing sauces.
- Leftover Tracker: Record meals that can be reused during the week.
Keep the weekly planner near the front of your binder so you can update it every Sunday. Match each planned meal with a recipe page and check your pantry before writing the shopping list. This simple routine reduces forgotten ingredients and makes busy weekday cooking much easier.
Ingredients:
- 1.5-inch ring binder
- Weekly meal planner printables
- Breakfast, lunch, and dinner divider tabs
- Grocery list templates
- Meal preparation checklist sheets
- Sticky notes
- Sheet protectors
- Dry-erase marker
How to Make It:
- Print a weekly meal planner with seven days and three daily meal sections.
- Create separate dividers for breakfast, lunch, dinner, and meal preparation.
- Add grocery shopping lists behind the meal planning pages.
- Place your most frequently used recipes in the corresponding sections.
- Insert weekly planner sheets into clear sheet protectors for reusable planning.
- Set aside a regular planning time to choose meals and prepare your shopping list.
Pinterest Account : FreshRecipeIdeas1
Seasonal Recipe Binder
Quick Tip:
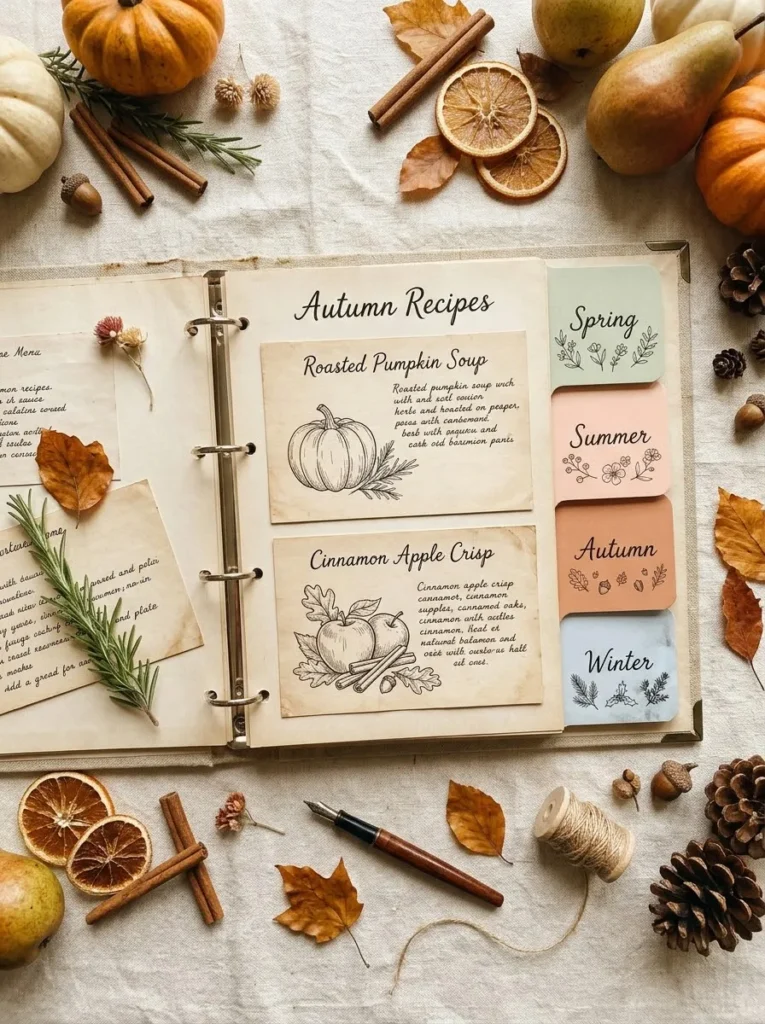
Organize your collection around the ingredients and meals you enjoy during different seasons. Use four distinct divider colors and leave extra pages for new recipes. This makes seasonal updates simple without reorganizing the entire binder.
Seasonal organization helps you find suitable meals based on available produce, weather, and family traditions. I’ve found that keeping autumn soups together and summer salads in their own section makes menu planning more intuitive. Add a small seasonal shopping list behind each divider to remember ingredients worth buying during their freshest months.
Ingredients:
- 2-inch ring binder
- Four colored cardstock divider sheets
- Seasonal recipe printouts
- Botanical illustration stickers
- Recipe category labels
- Clear sheet protectors
- Seasonal produce photographs
- Colored pens
How to Make It:
- Divide your binder into four sections: Spring, Summer, Autumn, and Winter.
- Choose a different color for each season.
- Collect recipes featuring ingredients commonly available during each season.
- Print the recipes and organize them behind the matching dividers.
- Add seasonal grocery lists and notes about ingredient substitutions.
- Leave several blank pages in every section for future seasonal discoveries.
Vintage Recipe Binder
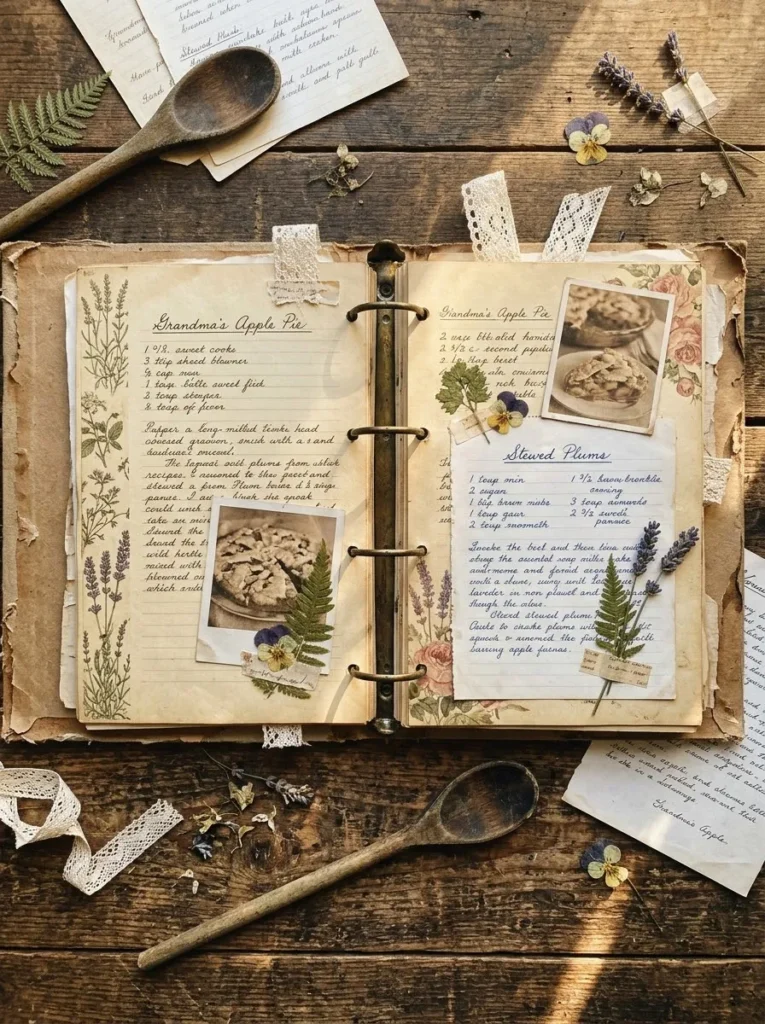
A vintage-style collection gives handwritten recipes and old family favorites a charming home. Instead of buying expensive decorative supplies, use kraft paper, printable antique labels, and soft floral patterns to create an aged appearance. Choose warm cream, dusty rose, muted brown, and faded sage for a consistent traditional look.
BEFORE: Loose handwritten recipes and printed food pages can look mismatched when stored together. Finding a particular family dish may also require flipping through several unrelated sheets.
AFTER: Matching vintage pages, labeled dividers, and organized sections create a coordinated collection. Every recipe has a dedicated place, making the binder easier to browse and maintain.
Keep decorative elements away from important cooking instructions so every measurement remains readable. A few carefully chosen vintage details will make the finished collection feel special without making the pages difficult to use.
Ingredients:
- 2-inch kraft-covered binder
- Antique-style printable recipe sheets
- Cream and brown cardstock
- Vintage floral stickers
- Sepia food photographs
- Decorative washi tape
- Antique-style label stickers
- Clear sheet protectors
- Brown archival pens
How to Make It:
- Cover the binder with kraft paper or choose a ready-made vintage-style cover.
- Print recipe templates with faded floral borders and classic typography.
- Create category dividers using cream and brown cardstock.
- Attach small sepia food photographs to selected recipe pages.
- Add decorative washi tape around page edges without covering recipe details.
- Organize the finished sheets into breakfast, lunch, dinner, baking, and dessert sections.
Budget-Friendly Recipe Binder
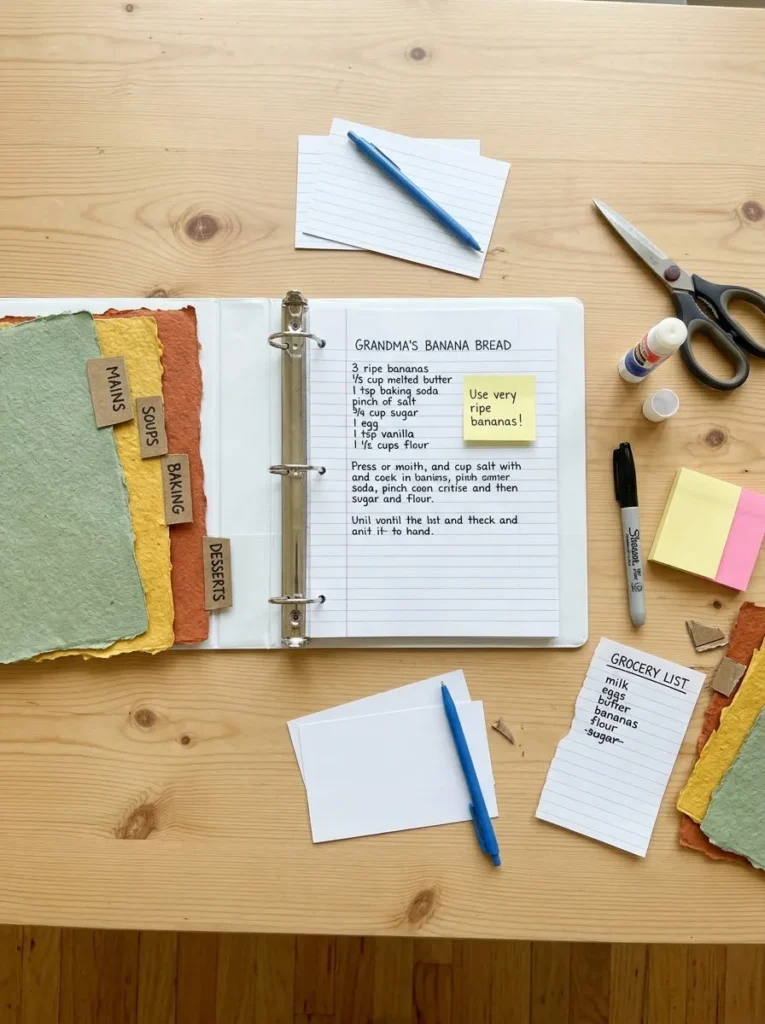
Creating an organized cooking collection doesn’t require expensive stationery or professional printing supplies.
- Choose a Basic Binder: Start with an affordable three-ring folder or reuse one already available at home.
- Make Paper Dividers: Cut colored cardboard into matching sections and label each category.
- Collect Existing Recipes: Print useful recipes or rewrite them on ordinary printer paper.
- Reuse Protective Materials: Place important recipes in available transparent document sleeves.
- Add Simple Labels: Use handwritten stickers or small pieces of masking tape to identify sections.
Ingredients:
- Reused or inexpensive ring binder
- Recycled cardboard sheets
- Plain printer paper
- Black permanent marker
- Scissors
- Glue stick
- Sticky notes
- Masking tape
- Available plastic document sleeves
How to Make It:
- Empty and clean an old binder if you’re reusing one.
- Cut recycled cardboard into divider-sized sheets.
- Write category names clearly on each divider.
- Collect recipes from existing printouts, handwritten notes, and saved cooking pages.
- Rewrite damaged or difficult-to-read recipes on fresh paper.
- Add simple labels and arrange everything behind the matching dividers.
- Keep a few blank sheets at the back for future recipes.
This low-cost setup is especially useful for students, beginners, and families trying to organize meals without spending much. Reusing materials also reduces unnecessary stationery purchases. Spend your budget on supplies that protect frequently used pages rather than decorative extras that won’t improve everyday cooking.
Recipe Binder With Pocket Dividers
Option A: Open Paper Dividers
| Feature | Details |
| Storage | Flat pages only |
| Best For | Printed recipes |
| Organization | Simple category tabs |
| Loose Notes | Can fall out |
Option B: Pocket Dividers
| Feature | Details |
| Storage | Built-in paper pockets |
| Best For | Recipes and loose notes |
| Organization | Tabs with extra storage |
| Loose Notes | Stay together |
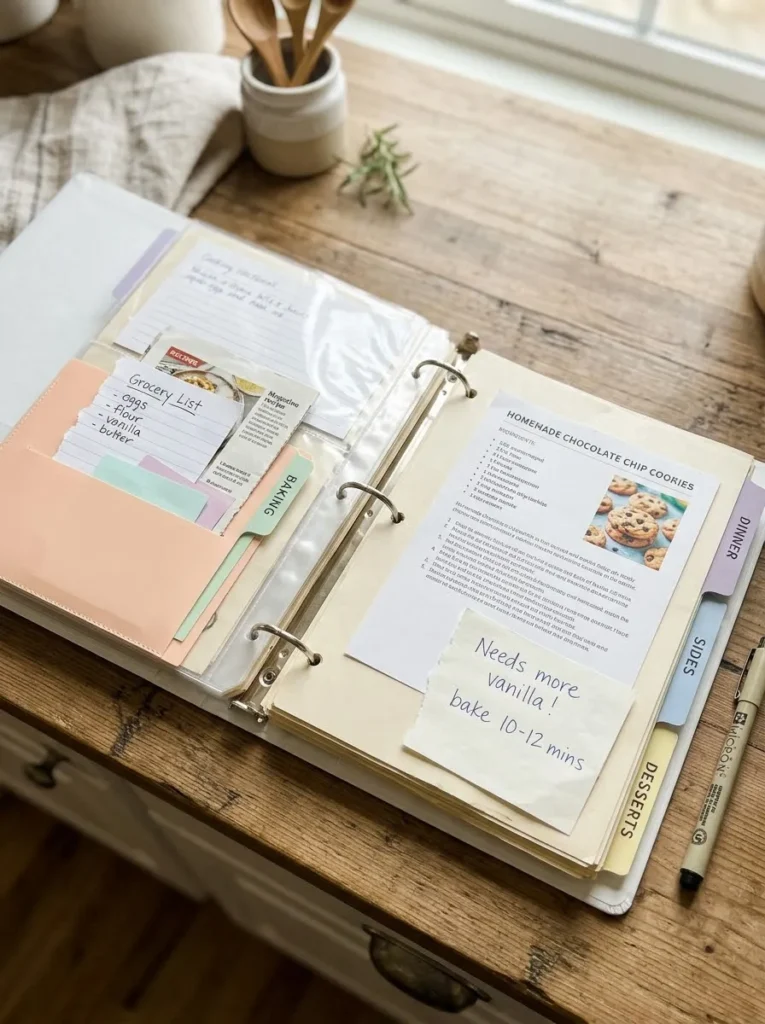
Pocket dividers solve a common kitchen organization problem: loose recipes often get separated from the main collection. With built-in sleeves, you can store handwritten notes, shopping lists, clipped recipes, and small instruction cards alongside their matching categories.
Ingredients:
- 1.5-inch ring binder
- Pocket-style binder dividers
- Printed recipe sheets
- Handwritten recipe cards
- Small grocery list papers
- Category label stickers
- Clear sheet protectors
- Colored cardstock
How to Make It:
- Choose a ring binder that accommodates pocket-style dividers.
- Purchase or create dividers with attached storage pockets.
- Label each section with a category such as Main Dishes, Breakfast, Snacks, and Desserts.
- Place printed recipes inside transparent protectors.
- Store loose recipe cards and shopping notes inside their matching divider pockets.
- Arrange the sections according to how frequently you cook each category.
- Check the pockets regularly and move permanent recipes onto binder pages.
Handwritten Recipe Binder
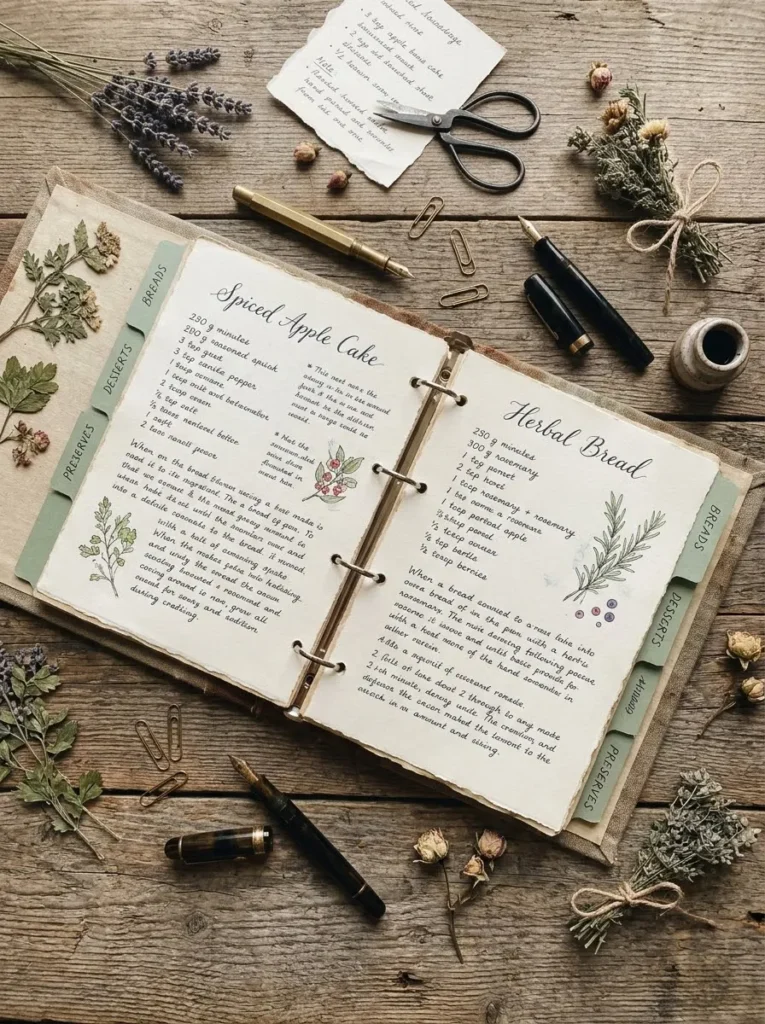
Handwritten recipes bring a personal touch to an otherwise ordinary kitchen collection. Instead of printing every recipe, dedicate a section to your own writing, favorite family dishes, and cooking notes. Use matching paper and consistent headings to keep the pages organized while allowing each recipe to retain its personal character.
DO:
- Use dark, waterproof ink for recipe instructions.
- Leave enough space between ingredients and cooking steps.
- Write measurements clearly using consistent units.
- Add small notes about successful substitutions.
DON’T:
- Use very pale ink that becomes difficult to read.
- Squeeze several recipes onto one crowded page.
- Place unprotected handwritten sheets near wet kitchen surfaces.
- Mix different paper sizes throughout the binder.
I’ve noticed that handwritten collections become especially useful when each page follows the same layout. Keep the recipe name at the top, ingredients on the left, and instructions below. This arrangement makes cooking easier because you can quickly find the information you need.
Ingredients:
- 2-inch ring binder
- Thick ivory writing paper
- Black waterproof pens
- Sage green cardstock
- Handwritten recipe templates
- Decorative botanical stickers
- Clear sheet protectors
- Small category labels
How to Make It:
- Select thick writing paper that fits comfortably inside your binder.
- Create a consistent recipe layout with spaces for titles, ingredients, and instructions.
- Write your favorite recipes using clear handwriting and dark ink.
- Add preparation time, serving sizes, and personal cooking notes.
- Create matching divider pages for different food categories.
- Place completed pages inside protective sleeves to prevent stains and damage.
Recipe Binder With Meal Categories
Cost: Low to moderate, depending on binder and divider supplies.
Time: Approximately 1 to 2 hours for initial organization.
Skill Level: Beginner-friendly.
Best For: Home cooks with recipes spread across different notebooks, websites, and printed pages.
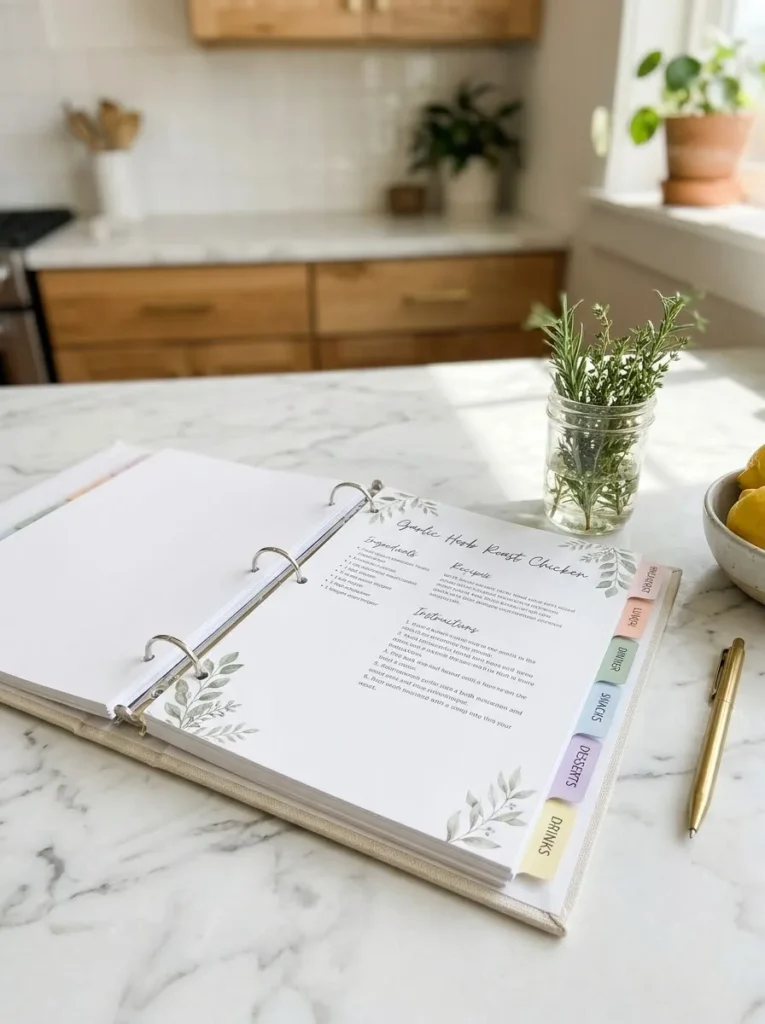
A category-based system makes a large collection easier to navigate. Instead of sorting recipes randomly, group similar dishes together and use clearly labeled dividers. I’ve found that separate sections for everyday dinners, quick lunches, and special desserts are particularly helpful because these categories match common household cooking routines.
Ingredients:
- 1.5-inch or 2-inch ring binder
- Six to eight divider tabs
- White recipe paper
- Printed recipe templates
- Category label stickers
- Clear sheet protectors
- Colored index tabs
- Permanent marker
How to Make It:
- Decide which food categories you use most often.
- Create sections for breakfast, lunch, dinner, snacks, desserts, and drinks.
- Add extra sections for special occasions or meal preparation if needed.
- Label every divider using large, readable lettering.
- Sort your existing recipes into the appropriate categories.
- Arrange each section alphabetically or by cooking frequency.
- Leave a few empty pages between categories for future additions.
Recipe Binder With Photo Pages
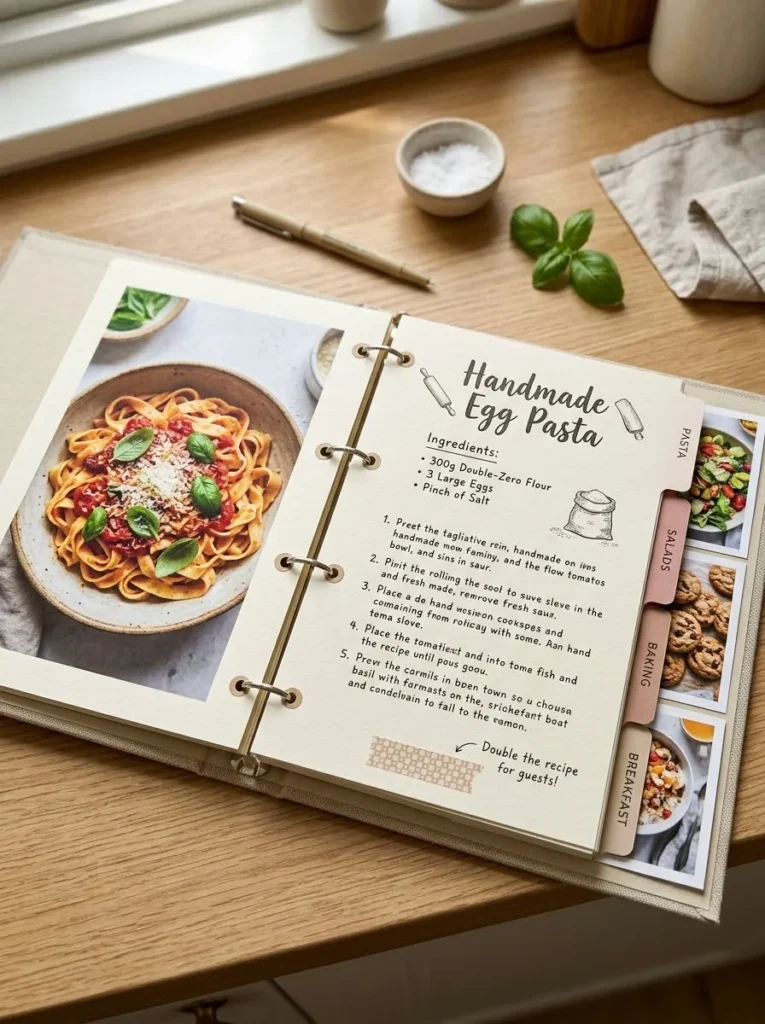
Beautiful food photographs make a recipe collection more inviting and help you recognize dishes before reading their instructions. Dedicate a page or small photo section to pictures of meals you’ve prepared or recipes you want to try. Match each photograph with its corresponding recipe title for easy reference.
Ingredients:
- 2-inch ring binder
- Printed food photographs
- Photo-friendly printer paper
- Cream cardstock
- Recipe page templates
- Adhesive photo corners
- Clear protective sleeves
- Small handwritten labels
How to Make It:
- Collect clear photographs of your favorite homemade dishes.
- Print the images in a consistent size to maintain a coordinated appearance.
- Create simple photo pages using cream cardstock as the background.
- Place each photograph beside its matching recipe title.
- Add a reference number to connect the photograph with the full recipe instructions.
- Store the photo pages at the beginning of each recipe category.
- Protect the finished pages with transparent sleeves.
A useful detail is to photograph your own finished dishes whenever possible. These images show realistic serving sizes and presentation ideas rather than relying entirely on stock photographs. Keep the pictures bright and clear, and avoid overcrowding each page with too many images.
Digital Recipe Printout Binder
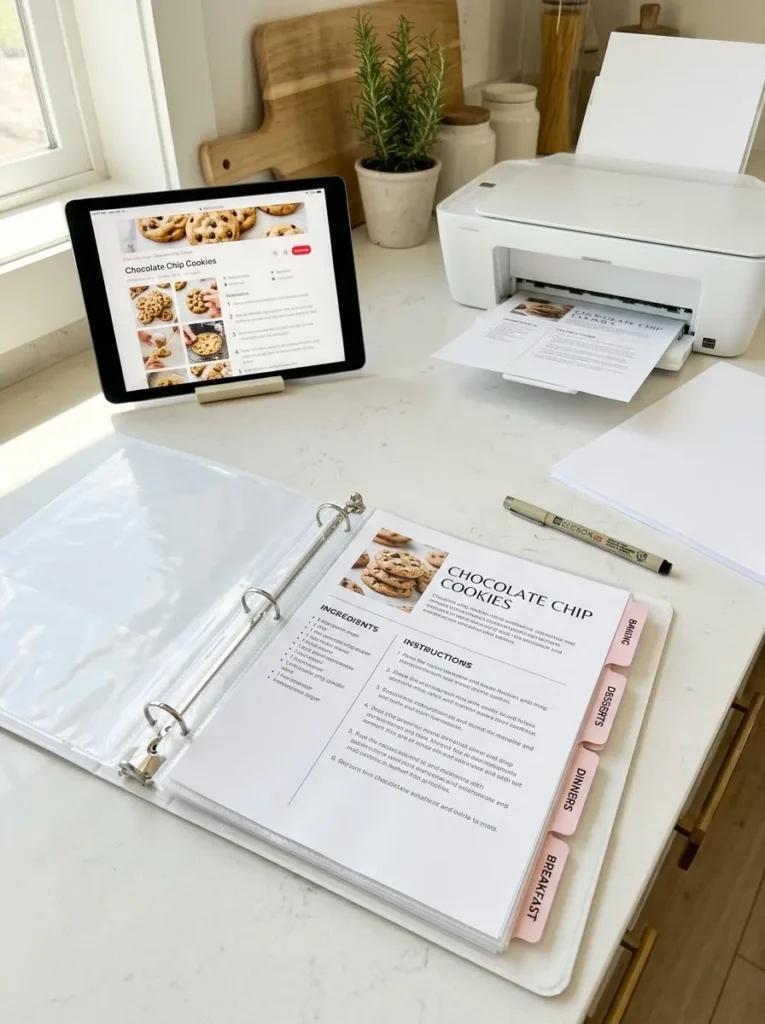
Digital recipes are convenient, but keeping dozens of saved links can make it difficult to find dinner inspiration when you need it. A printed collection gives your favorite online recipes a permanent place. Download recipes you regularly use, print them in a matching format, and arrange them by food category.
- Printable Layouts: Choose templates with clear ingredient and instruction sections.
- Consistent Formatting: Use the same font size and page style throughout.
- Recipe Sources: Record the website or cookbook name for future reference.
- Protective Sleeves: Keep printed pages safe from cooking splashes.
- Update Pages: Replace outdated instructions when you discover a better version.
Keep a small section for recipes you haven’t tested yet. After preparing each dish, add notes about cooking time, seasoning adjustments, and serving sizes. This makes your printed collection more reliable than a folder of untested internet recipes.
Ingredients:
- 2-inch ring binder
- Home printer
- White printer paper
- Digital recipe printouts
- Pastel divider tabs
- Transparent sheet protectors
- Black pens
- Recipe source labels
How to Make It:
- Collect your favorite recipes from reliable cooking websites and digital documents.
- Download or print the recipes in a consistent page format.
- Check that ingredient quantities and cooking instructions are complete.
- Add the original website or cookbook source beneath each recipe title.
- Sort the printouts into breakfast, lunch, dinner, baking, and dessert sections.
- Insert the pages into protective sleeves.
- Add handwritten cooking notes after testing each recipe.
Recipe Binder With Index Cards
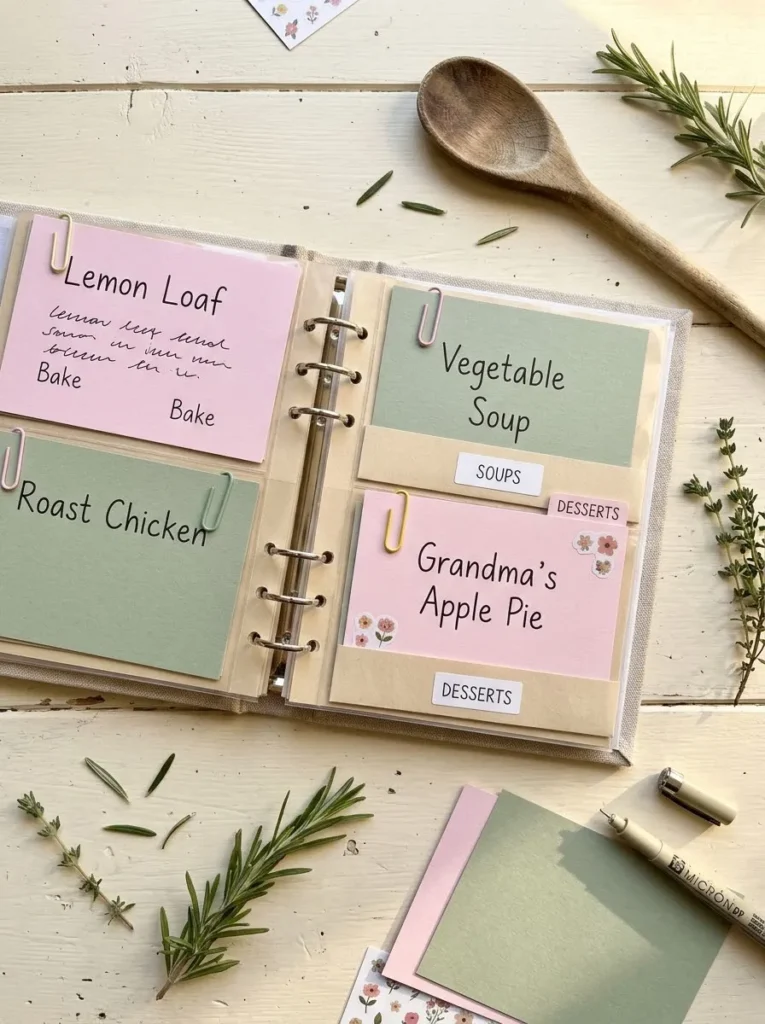
Quick Tip:
Choose standard index cards that fit your binder pockets or use printable templates with matching dimensions. Keep the recipe title at the top and reserve the back for cooking instructions or personal notes.
Index cards make recipe collections flexible because individual dishes can be moved, replaced, or rearranged without handling entire sheets of paper. They’re particularly useful for cooks who frequently experiment with ingredients or discover new meals. Keep everyday recipes near the front and special occasion dishes in separate sections.
Ingredients:
- 1.5-inch ring binder
- Blank index cards
- Index card binder sleeves
- Colored category tabs
- Fine-tip permanent pens
- Small recipe labels
- Decorative cardstock
- Sticky note flags
How to Make It:
- Purchase index cards and transparent sleeves that fit your binder.
- Select a consistent card size for the entire collection.
- Write one recipe per card, including ingredients and cooking instructions.
- Add preparation time and serving information beneath each title.
- Use colored labels to identify different food categories.
- Insert the cards into protective sleeves and arrange them by category.
- Keep blank cards at the back for newly discovered recipes.
Recipe Binder With Grocery Lists
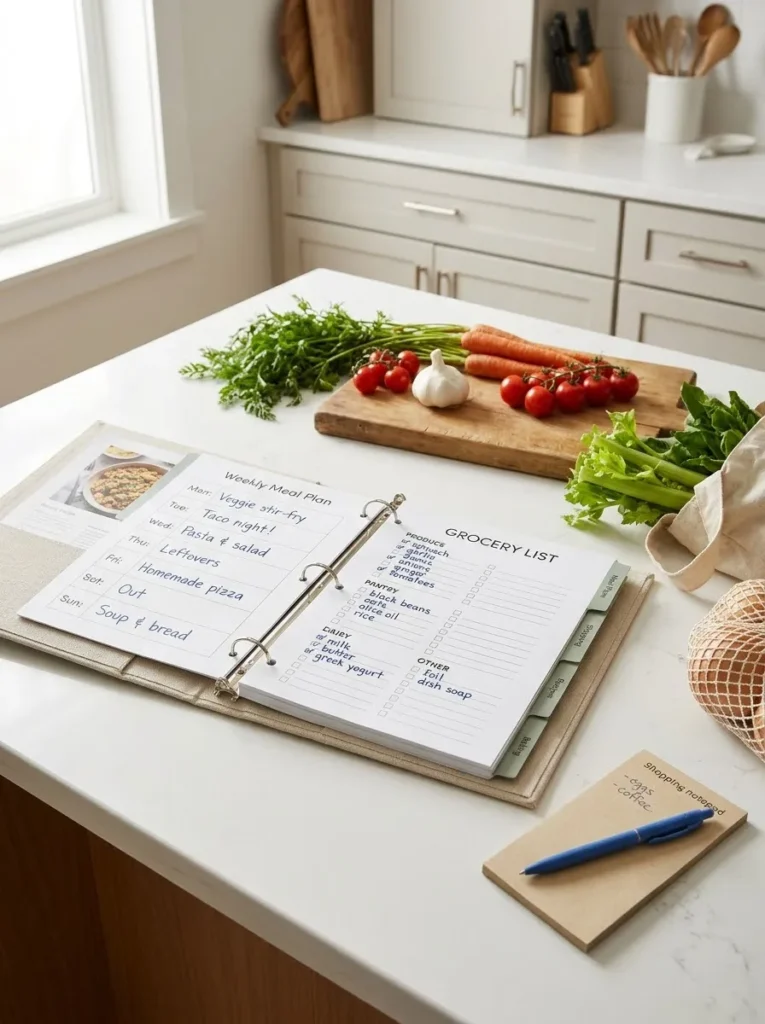
BEFORE: Planning meals and writing grocery lists separately can create unnecessary confusion. You might forget an ingredient, purchase something you already have, or struggle to remember which recipes you planned to prepare.
AFTER: A dedicated shopping section keeps meal plans and ingredient lists together. You can check recipes, identify missing supplies, and prepare one organized shopping list before visiting the store.
This arrangement works particularly well for families who shop once or twice a week. Keep reusable grocery templates near the front and group shopping items by supermarket department. Checking your pantry before completing each list also helps reduce duplicate purchases and unnecessary food waste.
Ingredients:
- 2-inch ring binder
- Grocery shopping list templates
- Weekly meal planner sheets
- Recipe printouts
- Pantry inventory checklist
- Colored divider tabs
- Clear sheet protectors
- Dry-erase marker
How to Make It:
- Create a dedicated grocery shopping section near the front of your binder.
- Print shopping list templates with spaces for produce, meat, dairy, grains, and pantry items.
- Add a weekly meal planner behind the shopping pages.
- Match each planned meal with its corresponding recipe.
- Check ingredient quantities and compare them with your existing pantry supplies.
- Write missing ingredients on the shopping checklist.
- Keep completed grocery lists for reference when planning future shopping trips.
Family Recipe Keepsake Binder
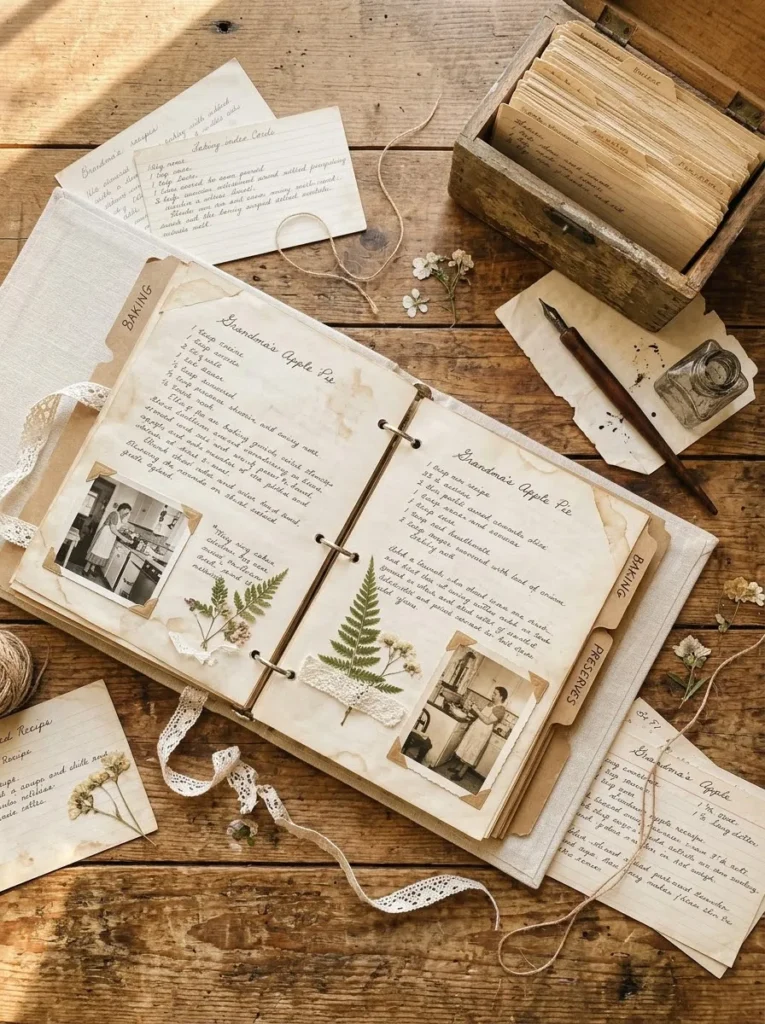
Preserving treasured recipes becomes easier when every dish has its own dedicated page. A keepsake-style collection is especially meaningful for handwritten recipes passed between parents, grandparents, and relatives. Include the original handwriting whenever possible, along with a fresh copy that is easier to read while cooking.
- Choose Your Binder: Select a sturdy linen or fabric-covered binder with enough space for additional recipes.
- Collect Family Recipes: Gather handwritten notes, old recipe cards, and favorite family dishes.
- Create Keepsake Pages: Add recipe titles, original contributors, and the year each dish became a family favorite.
- Add Personal Details: Include photographs, short family notes, and special ingredient substitutions.
- Protect Original Copies: Store delicate handwritten recipes inside archival-quality protective sleeves.
Ingredients:
- 2-inch fabric-covered ring binder
- Archival-quality recipe paper
- Original family recipe cards
- Family food photographs
- Acid-free cardstock
- Photo corners
- Protective sleeves
- Decorative ribbon
- Archival ink pens
How to Make It:
- Gather handwritten recipes from family members and existing recipe collections.
- Scan or photograph delicate original cards before placing them in protective sleeves.
- Create matching pages for recipes that need clearer instructions.
- Record the contributor’s name and any meaningful cooking notes.
- Add photographs of the finished dishes or original handwritten pages.
- Organize recipes into family meals, holiday favorites, baking, and desserts.
- Leave several blank pages for recipes contributed by future generations.
Tabbed Recipe Binder System
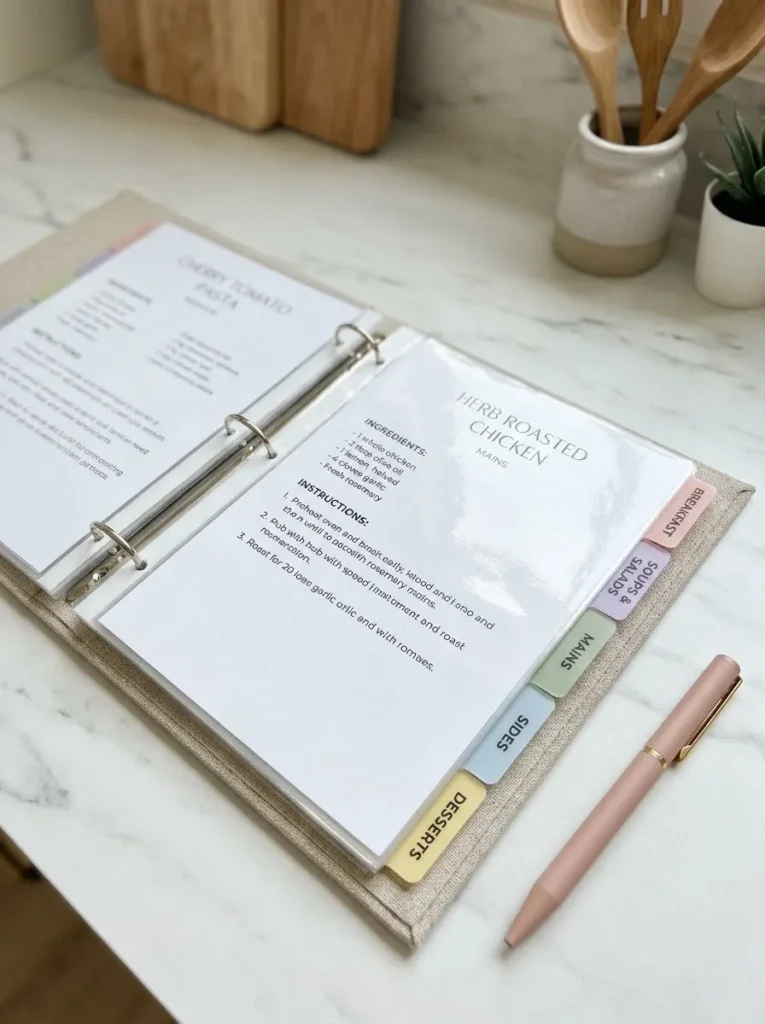
Option A: Alphabetical Tabs
| Feature | Details |
| Organization | A to Z |
| Best For | Large recipe collections |
| Finding Recipes | By dish name |
| Maintenance | Add recipes alphabetically |
Option B: Category Tabs
| Feature | Details |
| Organization | Food types |
| Best For | Everyday meal planning |
| Finding Recipes | By meal category |
| Maintenance | Add recipes by section |
Choosing the right tab arrangement makes a noticeable difference when your binder starts growing. Alphabetical tabs are useful for locating a specific dish, while category tabs make it easier to browse meals based on what you’re cooking. Choose the method that matches how you search for recipes most often.
Ingredients:
- 2-inch ring binder
- Plastic index divider tabs
- White recipe paper
- Category label stickers
- Clear sheet protectors
- Colored permanent markers
- Alphabetical index sheets
- Printed recipe pages
How to Make It:
- Decide whether alphabetical or food-category organization suits your collection.
- Purchase adjustable plastic index tabs that fit your binder.
- Assign a clear label to every tab.
- Print or write the category names using consistent lettering.
- Sort your existing recipes according to the chosen system.
- Place an index page at the beginning of the binder.
- Add new recipes behind the correct tab whenever your collection grows.
Holiday Recipe Binder
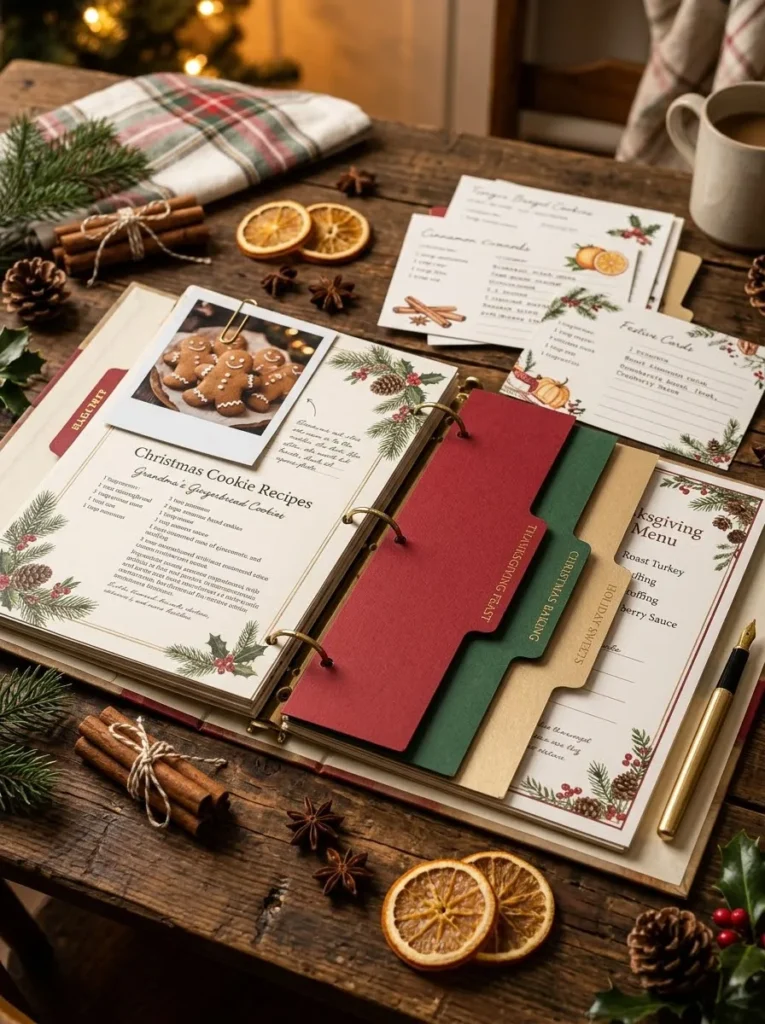
DO:
- Create separate sections for Christmas, Thanksgiving, Easter, and other celebrations.
- Include complete ingredient quantities for larger gatherings.
- Add serving sizes for family dinners and parties.
- Keep favorite seasonal menus together with their recipes.
DON’T:
- Mix holiday recipes randomly with everyday meals.
- Forget to record ingredient substitutions for guests.
- Store handwritten recipes without protective sleeves.
- Leave shopping lists until the last minute.
Holiday cooking often involves several dishes being prepared at once, so a dedicated collection helps keep everything manageable. Include menu plans, baking schedules, and shopping checklists alongside your recipes. You’ll have a useful reference for repeating favorite celebrations without searching through old notebooks every year.
Ingredients:
- 2-inch decorative ring binder
- Red and green cardstock
- Holiday recipe printouts
- Seasonal divider tabs
- Christmas and celebration stickers
- Menu planning templates
- Grocery checklist sheets
- Clear page protectors
How to Make It:
- Choose a festive binder cover using seasonal colors.
- Create separate dividers for Christmas, Thanksgiving, Easter, and other celebrations.
- Collect your favorite holiday dinners, desserts, appetizers, and drinks.
- Print matching recipes with complete ingredient lists and cooking instructions.
- Add menu planning sheets and preparation schedules.
- Include shopping lists for each celebration.
- Arrange everything by holiday and keep frequently used seasonal recipes near the front.
Healthy Eating Recipe Binder
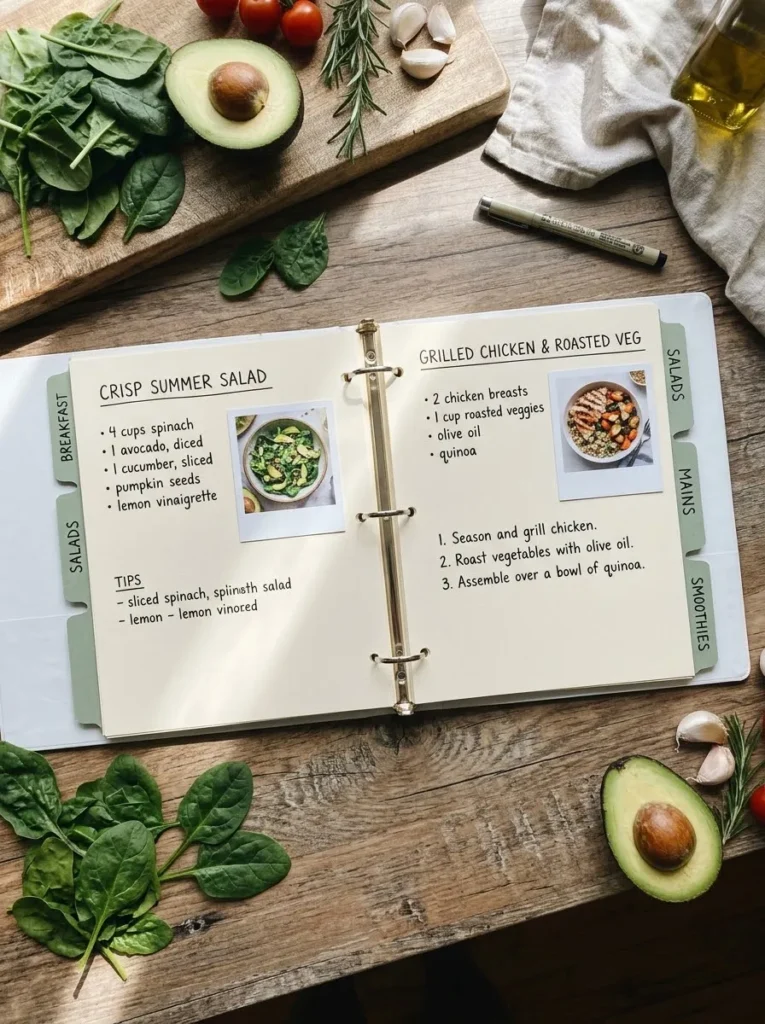
Keeping nutritious meal ideas together makes it easier to plan balanced meals throughout the week. Divide your collection into practical sections such as high-protein meals, vegetable dishes, healthy breakfasts, and homemade snacks. Include nutritional information when available so you can compare recipes and choose meals that suit your preferences.
Ingredients:
- 2-inch ring binder
- Sage green cardstock dividers
- Healthy recipe printouts
- Nutrition information templates
- Food photograph printouts
- Clear sheet protectors
- Category label stickers
- Black and green pens
How to Make It:
- Choose a binder with enough room for your growing collection.
- Create sections for healthy breakfasts, lunches, dinners, snacks, and smoothies.
- Collect nutritious recipes from reliable cooking sources.
- Print each recipe with ingredient quantities and preparation instructions.
- Add nutritional details when reliable information is available.
- Include personal notes about ingredient substitutions and serving sizes.
- Arrange the recipes by category for easier weekly meal planning.
Recipe Binder With Freezer Meals
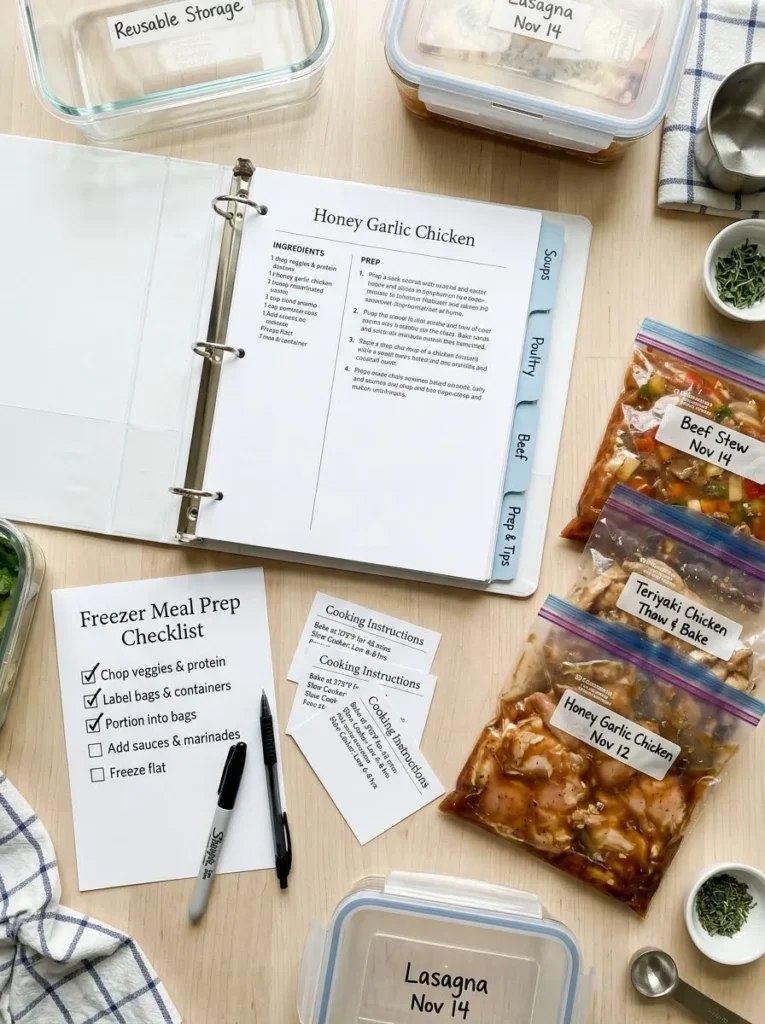
Cost: Low to moderate, depending on storage supplies.
Time: Around 1 to 2 hours for organizing existing recipes.
Skill Level: Beginner-friendly.
Best For: Busy families, batch cooking, and people who prepare meals ahead.
A freezer meal section helps you keep track of dishes that can be prepared in advance and stored for later. Separate uncooked freezer meals from fully cooked dishes so preparation instructions remain clear. Record freezing dates, storage conditions, thawing guidance, and reheating instructions where appropriate.
Ingredients:
- 2-inch ring binder
- Freezer meal recipe templates
- Blue cardstock divider sheets
- Freezer inventory checklist
- Food storage labels
- Clear sheet protectors
- Meal preparation schedule
- Permanent marker
How to Make It:
- Create separate sections for uncooked freezer meals and prepared meals.
- Collect recipes suitable for freezing and reheating.
- Print ingredient quantities and preparation instructions for each dish.
- Add storage notes, recommended thawing methods, and reheating directions.
- Create a freezer inventory sheet with spaces for dish names and preparation dates.
- Include batch cooking checklists for meals prepared in larger quantities.
- Place the inventory sheet near the front for quick updates.
Recipe Binder With Cooking Notes
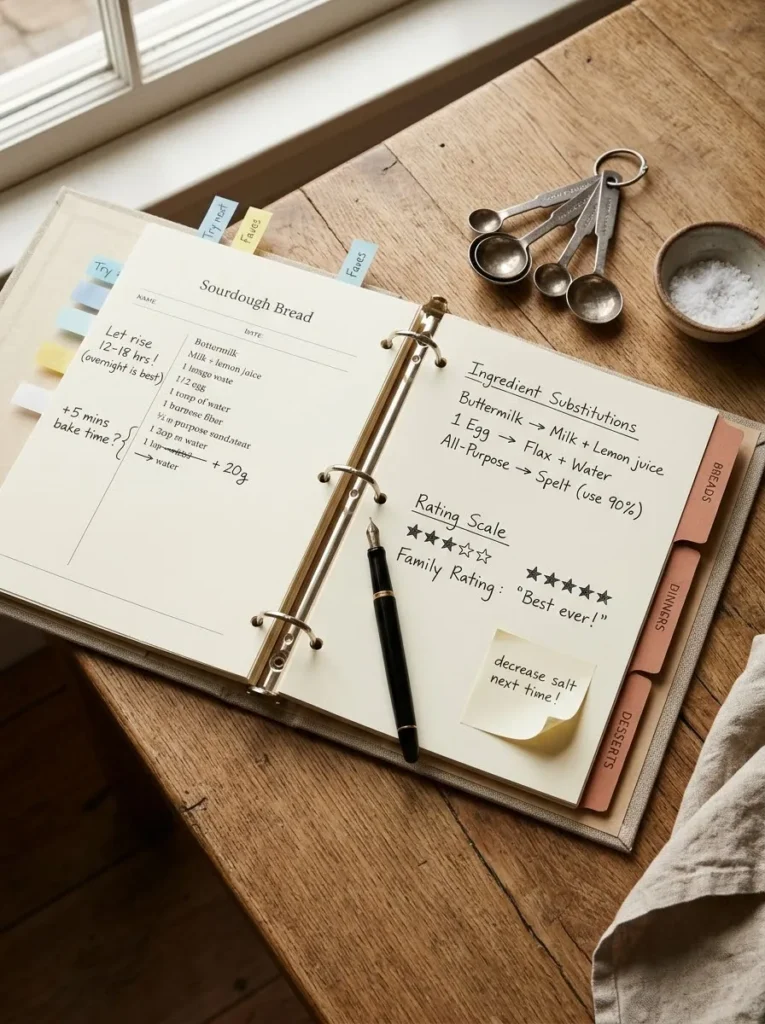
Ingredients:
- 1.5-inch ring binder
- Printed recipe templates
- Cooking notes worksheets
- Terracotta cardstock dividers
- Rating stickers
- Colored sticky tabs
- Fine-tip pens
- Clear sheet protectors
How to Make It:
- Select a binder with enough room for recipes and additional note pages.
- Create a standard recipe sheet with spaces for ingredients and instructions.
- Add a separate cooking notes section to every recipe.
- Include fields for seasoning adjustments, ingredient substitutions, and preferred cooking times.
- Add a simple rating system, such as one to five stars.
- Record the date whenever you test a new recipe.
- Review your notes before preparing the dish again.
A recipe becomes more useful when it includes details from your own kitchen. Record whether you reduced the sugar, added extra seasoning, or changed the cooking time. These observations help you repeat successful meals instead of making the same adjustments every time. Keep the notes short and specific so they’re easy to review.
Recipe Binder With Meal Prep Sections
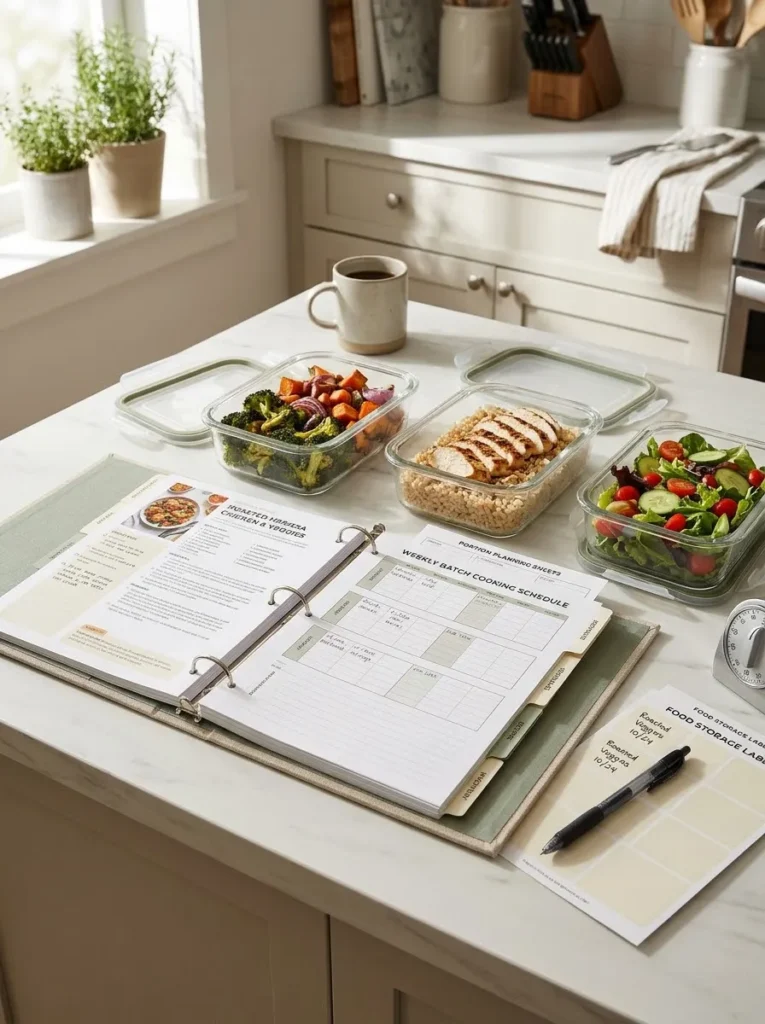
Meal preparation becomes easier when recipes and cooking schedules are stored together. Create dedicated sections for batch cooking, make-ahead breakfasts, prepared lunches, and quick weeknight dinners. This arrangement helps you identify dishes that can be cooked in advance and plan how ingredients will be used throughout the week.
Ingredients:
- 2-inch ring binder
- Meal preparation planner sheets
- Batch cooking recipe templates
- Sage green divider tabs
- Food storage labels
- Portion planning worksheets
- Clear sheet protectors
- Weekly cooking checklist
How to Make It:
- Create separate sections for breakfast prep, lunch prep, dinner prep, and batch cooking.
- Collect recipes that can be prepared ahead of time.
- Print each recipe with ingredient quantities and preparation instructions.
- Add a weekly cooking schedule with spaces for preparation dates.
- Include portion planning sheets to organize servings for the household.
- Create storage labels with spaces for dish names and preparation dates.
- Keep a weekly checklist near the front to track completed preparation tasks.
A helpful addition is a page showing which ingredients can be prepared together. For example, roasted vegetables might work in grain bowls, wraps, and side dishes. Planning around shared ingredients helps reduce unnecessary preparation and makes your grocery shopping more organized.
Recipe Binder With Kitchen Inventory
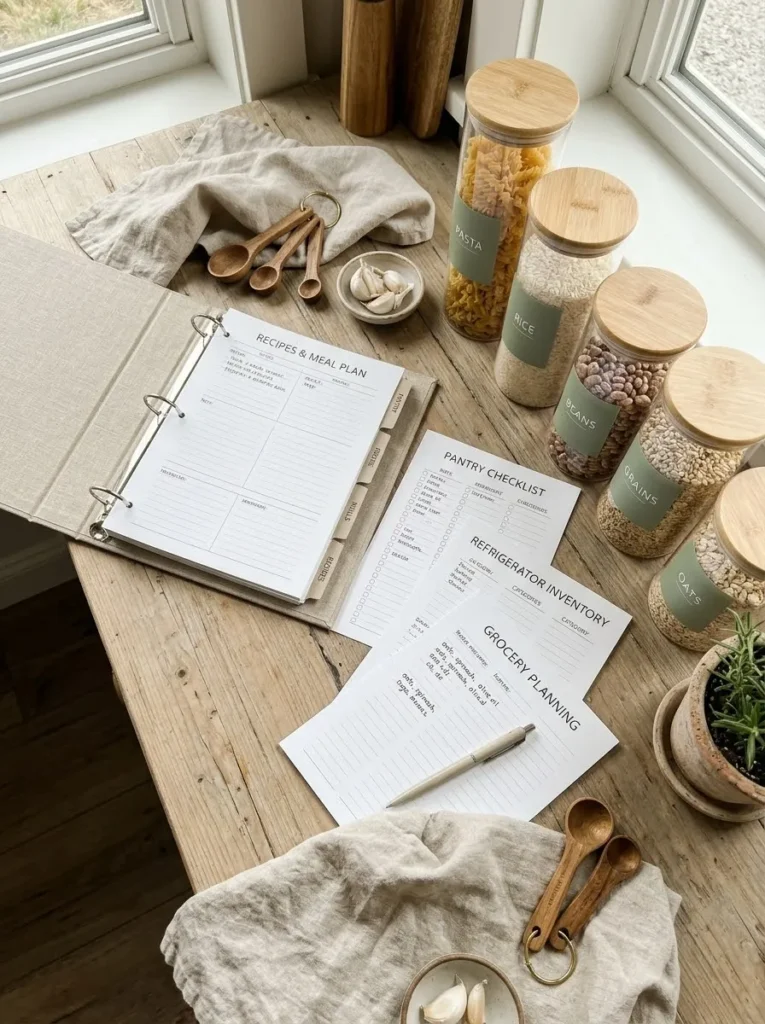
Cost: Low, especially when using printable inventory sheets.
Time: Around 1 hour to create the initial organization system.
Skill Level: Easy for beginners.
Best For: Households that want to track pantry supplies and plan meals around available ingredients.
An inventory section helps connect your recipes with the ingredients already available in your kitchen. Instead of buying everything from scratch, check your pantry and refrigerator before planning meals. I’ve noticed that a simple inventory sheet can also make forgotten ingredients easier to spot before they expire.
Ingredients:
- 1.5-inch ring binder
- Pantry inventory templates
- Refrigerator checklist sheets
- Freezer inventory pages
- Beige cardstock dividers
- Food category labels
- Permanent marker
- Clear sheet protectors
How to Make It:
- Create separate inventory pages for pantry, refrigerator, and freezer supplies.
- Add columns for ingredient names, available quantities, and expiration dates.
- Print the templates and place them in protective sleeves.
- Create matching sections for breakfast ingredients, baking supplies, grains, canned foods, and frozen items.
- Add a meal planning page where you can record recipes using available ingredients.
- Update quantities whenever groceries are purchased or used.
- Review expiration dates regularly and plan meals around ingredients that need attention.
Recipe Binder With Cooking Time Labels
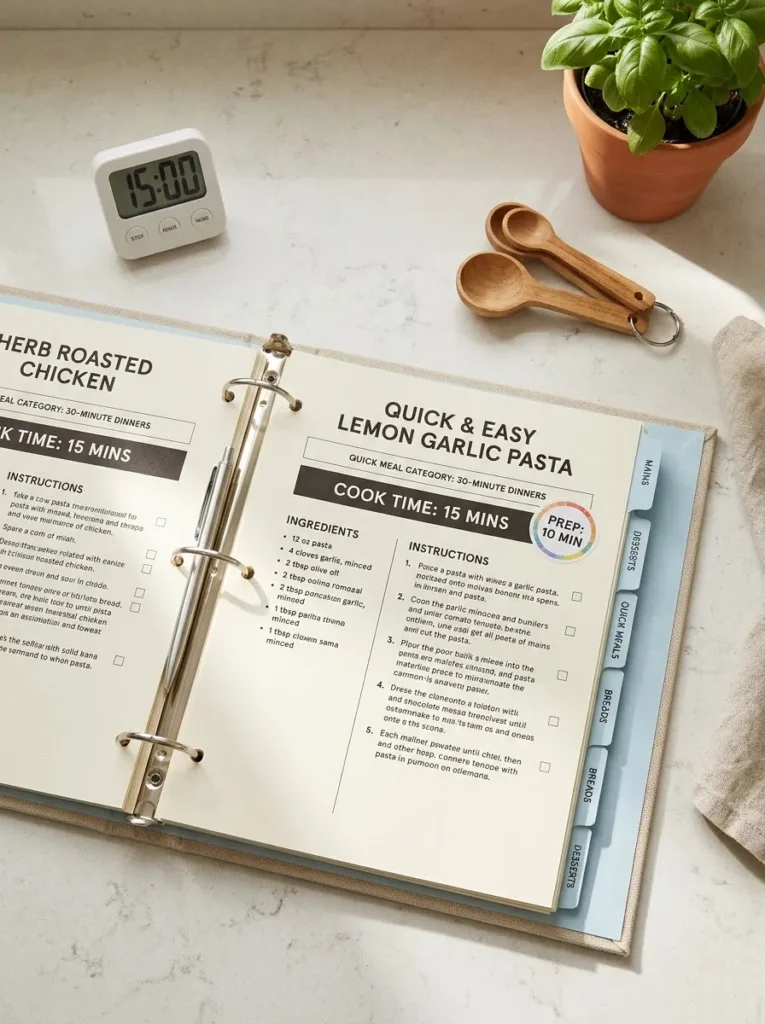
Busy evenings often require meals that fit the time you actually have available. Organizing recipes by preparation and cooking time makes choosing dinner much quicker. Create sections for meals under 15 minutes, 30-minute dishes, longer weekend recipes, and slow cooker favorites.
Ingredients:
- 2-inch ring binder
- Recipe printouts
- Cooking time label stickers
- Pale blue cardstock dividers
- Preparation time worksheets
- Clear sheet protectors
- Colored markers
- Kitchen timer
How to Make It:
- Gather your existing recipes and check their preparation and cooking times.
- Create categories for quick meals, 30-minute recipes, slow cooker dishes, and weekend cooking.
- Print recipe pages with clearly visible time information.
- Add colored labels to identify different cooking time categories.
- Separate preparation time from actual cooking time.
- Arrange recipes according to the time required to prepare each meal.
- Place your quickest dinner options near the front for easy access.
This organization is particularly useful when your schedule changes from day to day. A quick glance at the binder helps you choose a suitable dish without reading every recipe. Keep realistic cooking times on each page, including preparation and cleanup considerations where helpful.
Recipe Binder With Kitchen Favorites
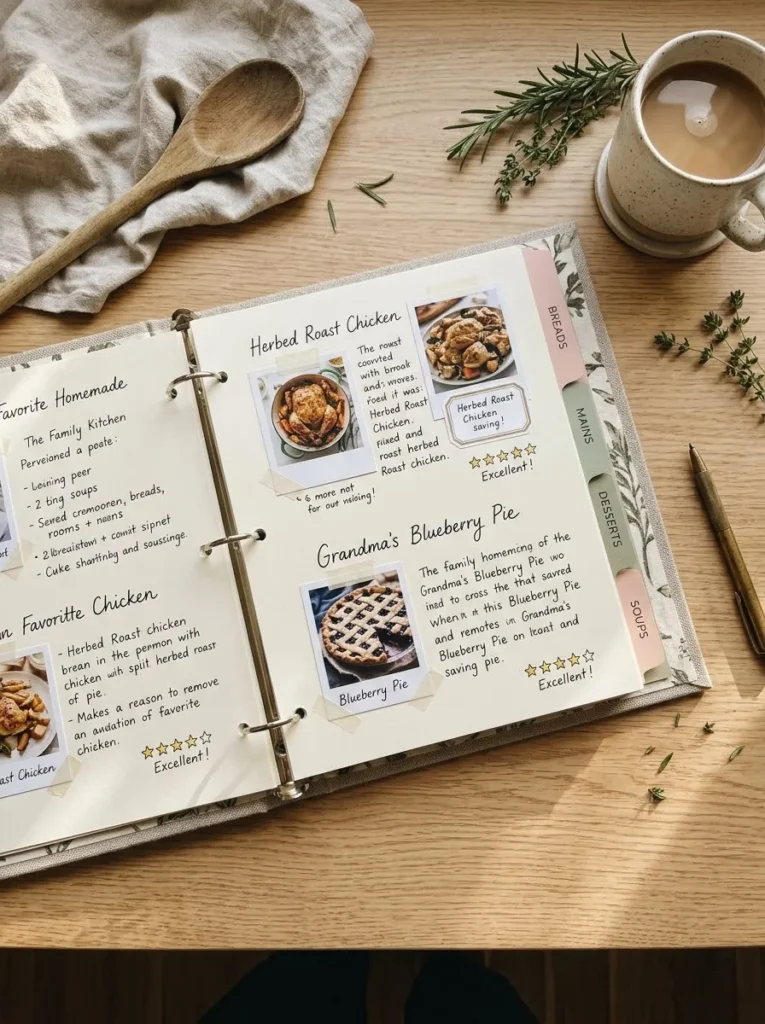
Keeping your most-loved recipes in one dedicated section makes everyday cooking much more convenient. Rather than searching through every category, collect the dishes you prepare repeatedly in a special kitchen favorites section. Include family dinners, reliable breakfasts, quick lunches, and desserts that always receive compliments.
Ingredients:
- 1.5-inch ring binder
- Cream-colored recipe paper
- Blush and sage cardstock
- Favorite recipe printouts
- Small food photographs
- Star rating stickers
- Decorative category labels
- Clear sheet protectors
- Black permanent pens
How to Make It:
- Gather the recipes you prepare most frequently.
- Select dishes that your household enjoys and that have worked successfully in your kitchen.
- Create a dedicated Kitchen Favorites divider using coordinating cardstock.
- Print or rewrite each recipe with complete ingredient quantities and instructions.
- Add small food photographs and handwritten ratings beside selected recipes.
- Include personal notes about successful ingredient substitutions and preferred serving sizes.
- Place the most frequently prepared meals at the beginning of the section.
- Review the collection occasionally and replace recipes that are no longer family favorites.
A useful detail is to leave a few blank pages at the end for newly discovered favorites. After trying a new dish several times, add it to this section if it earns a regular place in your meal rotation. Your collection will gradually become a practical reference filled with dependable recipes.
CONCLUSION
Organizing your recipes doesn’t have to be complicated or expensive. With these DIY Recipe Binder Ideas, you can create a personalized collection that keeps favorite meals, grocery lists, cooking notes, and weekly plans together. Start with a simple design that fits your routine, then add creative details as your collection grows. I’ve found that small organization changes can make everyday cooking feel much more manageable. Choose your favorite idea, gather a few supplies, and start creating a binder you’ll love using. Don’t forget to save this article on Pinterest and share it with friends who enjoy cooking and meal planning!